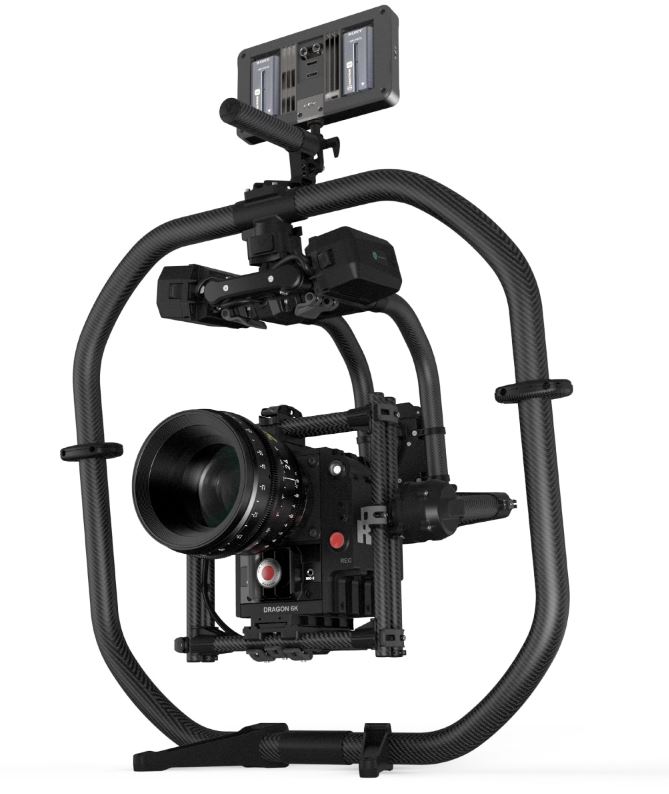
CAMERA- Movi Pro FREEFLY Gimbal
NOS- G8 RIG REMOTE HEADS AND SYSTEMS
Knowledge and understanding:
– G8 c) the types of additional safety ties required for the camera and its accessories
NOS- G18 BUILD AND SUPERVISE THE USE OF THE JIB ARM
Knowledge and understanding:
– G18 j) how to mount the camera safely on the jib
FREEFLY MOVI PRO (Freefly, 2020)
We have had a MOVI Freefly gimbal at the film school for a couple of years now; however, it is something which is not used that often. Going into my final year, I wanted to make sure that I had a good understanding of how the MOVI was rigged, as when I graduate, new technology such as this, is what film productions are beginning to use more often.
In this workshop I was able to note down a step by step instruction guide for how to assemble to gimbal and how to rig to camera to it.
Rigging the Sony FS7 to the Movi Pro…
Step 1:The Movi Pro comes in two sections, connect the two together so that the gimbal is one complete piece of equipment
Step 2: Attatch the base plate from the movi kit to the bottom of the camera so that the camera is stable and going no where.
Step 3: Ensure that before putting the camera onto the movi, that the; lens, focus motor wheel, teradek and any other accessories needed for the camera , are already attached. This helps for when it comes to balancing the camera in the later stages.
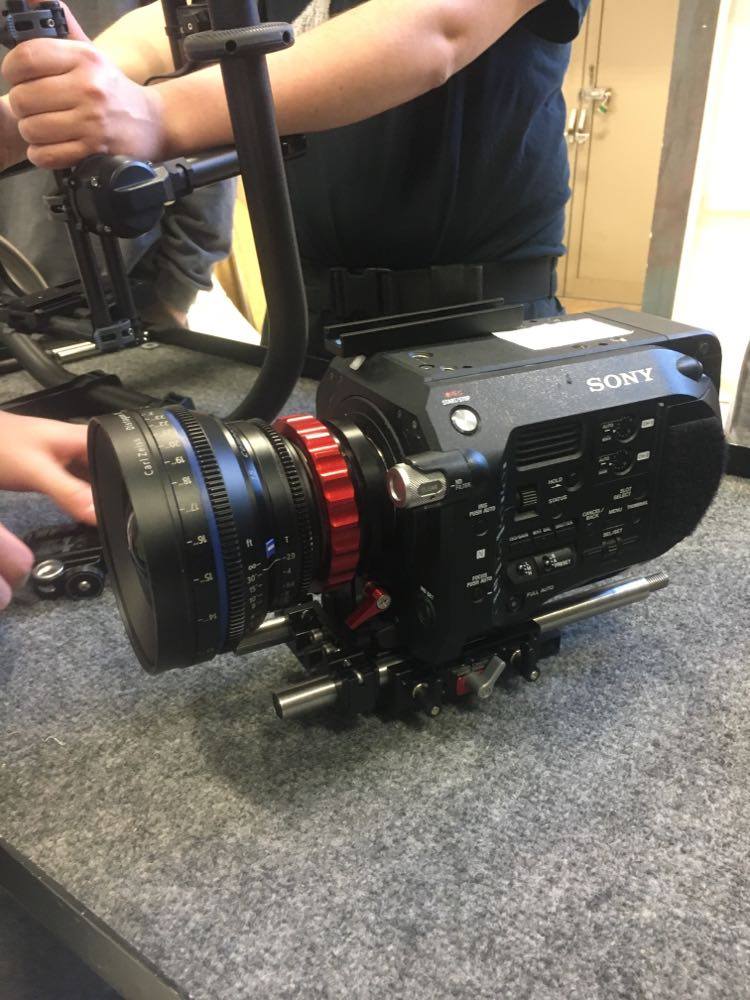
Step 4: Before putting the camera onto the movi, tidy up all your cables so that your build is neat and professional.
Step 5: Attatch your camera to the movi then balance it using the grey locks. Ensure that the camera is put in the upside down position and use the side locks to balance it as best as you can.
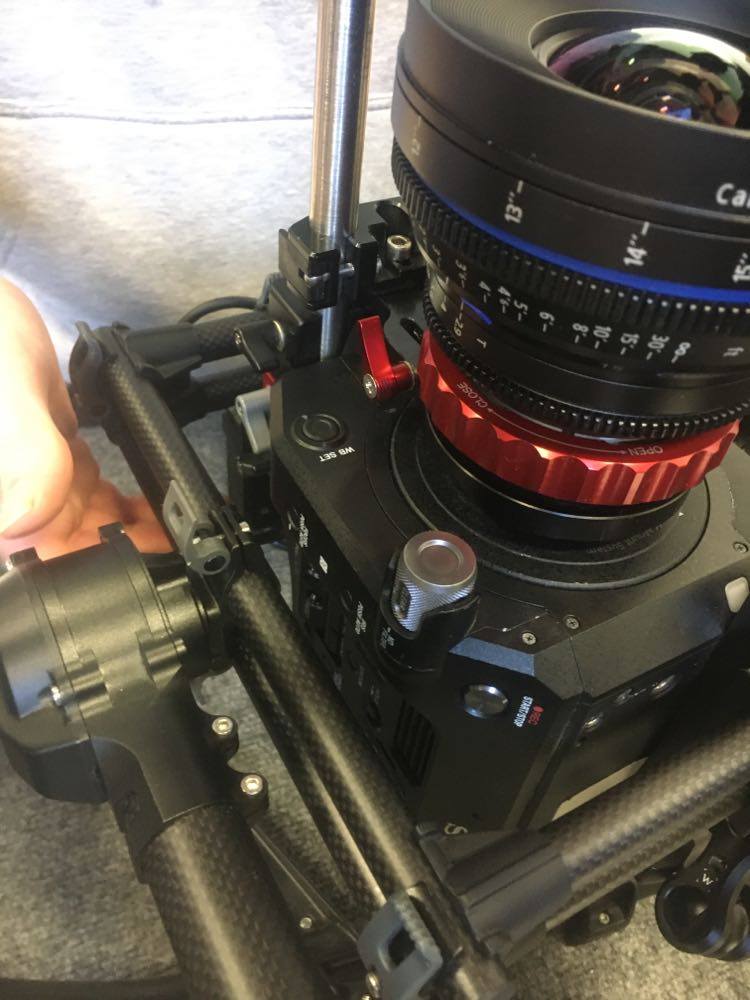
A video created by ‘freefly systems’ helped me understand how to correctly balance the camera. (YouTube, 2017)
Step 8: Turn on the movi at the rear and using the movi app, select AUTOTUNE to automatically tune in the movi’s settings with the camera.
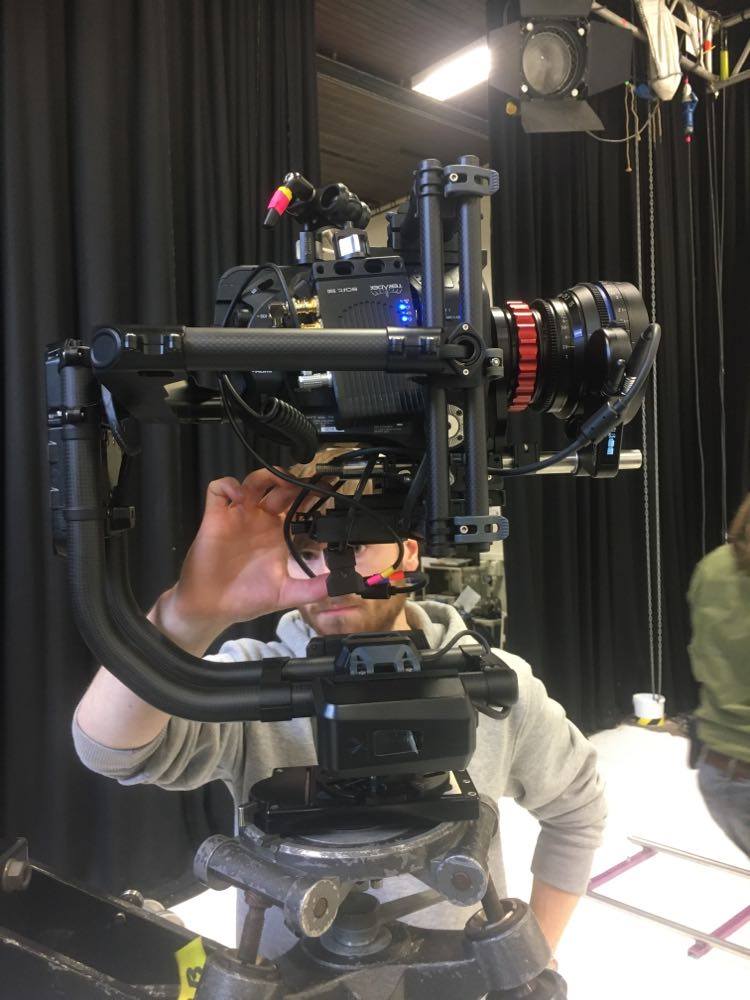
Step 9: Once the camera is ready to go, place it onto the head of the Jib which you are using. Once locked in place, you are ready to begin.
Jon Head- Jib Session…
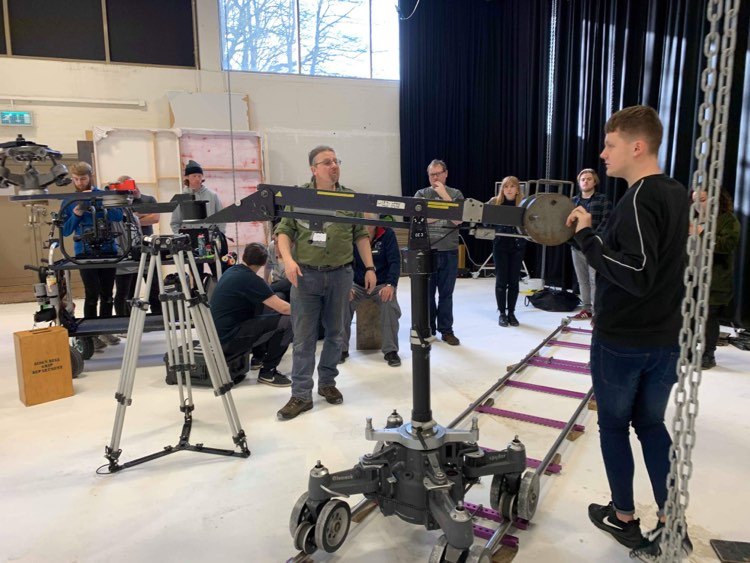
Grip Freelancer, Jon Head (IMDB, 2020), who has worked on projects such as ‘Blue Moon Rising’ and ‘Ali G Indahouse’, came in to give us a lesson on how to rig a GFM styled jib (Grip Factory Munich, 2020).

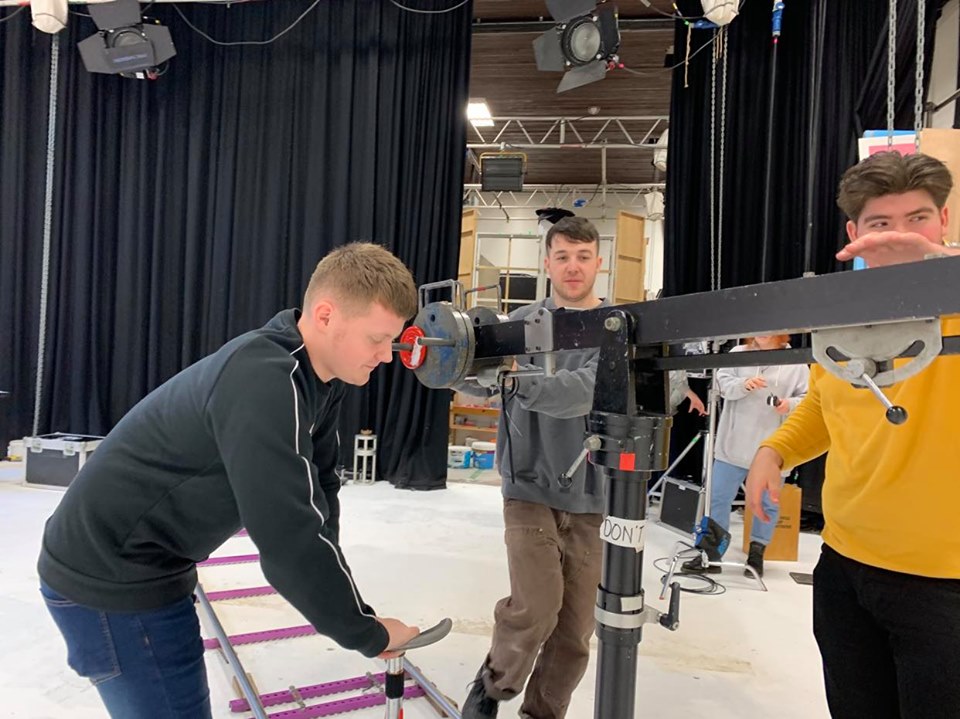


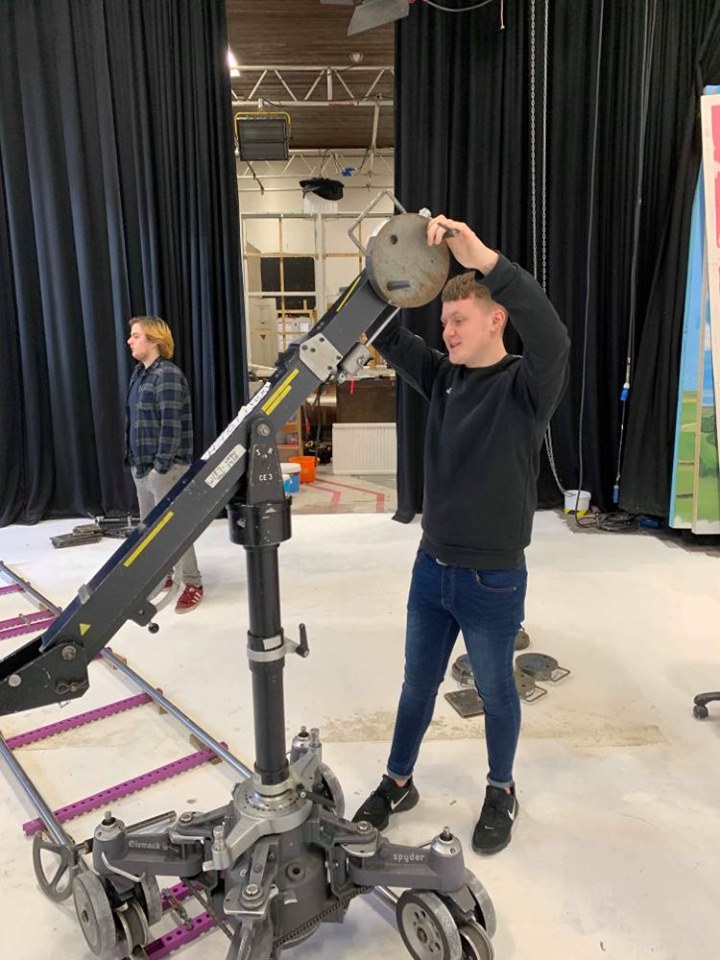
These jibs were made to be lightweight and flexible as well as allowing more weight to be placed onto them, meaning that almost any camera package would be acceptable for this jib. (APPENDIX 1)
Grip Factory Munich (GFM, 2020), found in 1999 have over the years gained credits for blockbuster movies such as: Star Wars Rise of Skywalker, Joker, Batman and Terminator aswell as many other recognised best sellers.


The Philosophy…
A page on their site explaining details about them, tells us the philosophy behind the company. They say:
“Our mission is to develop and produce camera support equipment that is innovative, effective and of the highest quality.” (APPENDIX 2)(GFM, 2020)
In a short video made by the company, industry workers all around the world give their opinions on GFM equipment and show an insight to just how good some of their products are. (YouTube, 2016) The quote written above, is explained through some of the words being told in the video.
Remote Head Operating…
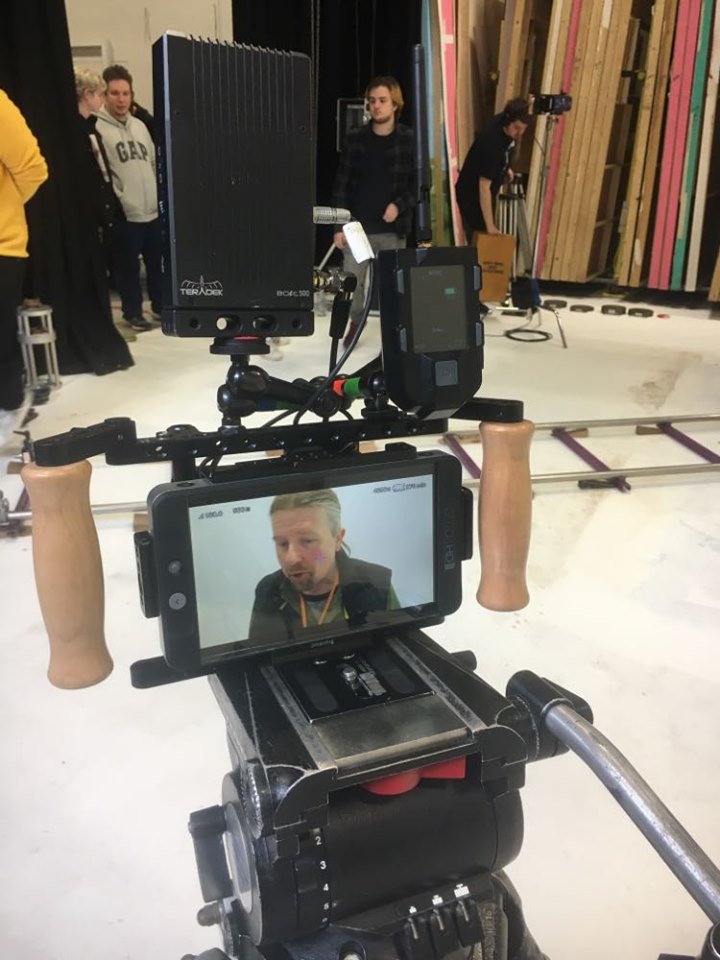

Remote Head Operating, is a type of camera operating which involves you controlling the camera from a monitor and in our case placing it onto a set of sticks for more control. In this session we rigged the Movi to the Jib, and in order to operate the camera we had to use a MIMIC (Freefly, N.D).
The way it works is by sending a signal from the Mimic device to the receiver on the Movi rig which picks up the signal, and allows you to adjust its settings such as, roll and tilt from the remote head. (APPENDIX 2A)This is very beneficial: if you were to select a setting and then attach the Movi to the jib, you then operate the camera and realise that its not at the right speed for its roll axis. Having the Mimic, avoids the need to take down the rig and amend the settings yourself.
A brief overview of the Mimic from Freefly systems, (YouTube, 2017)
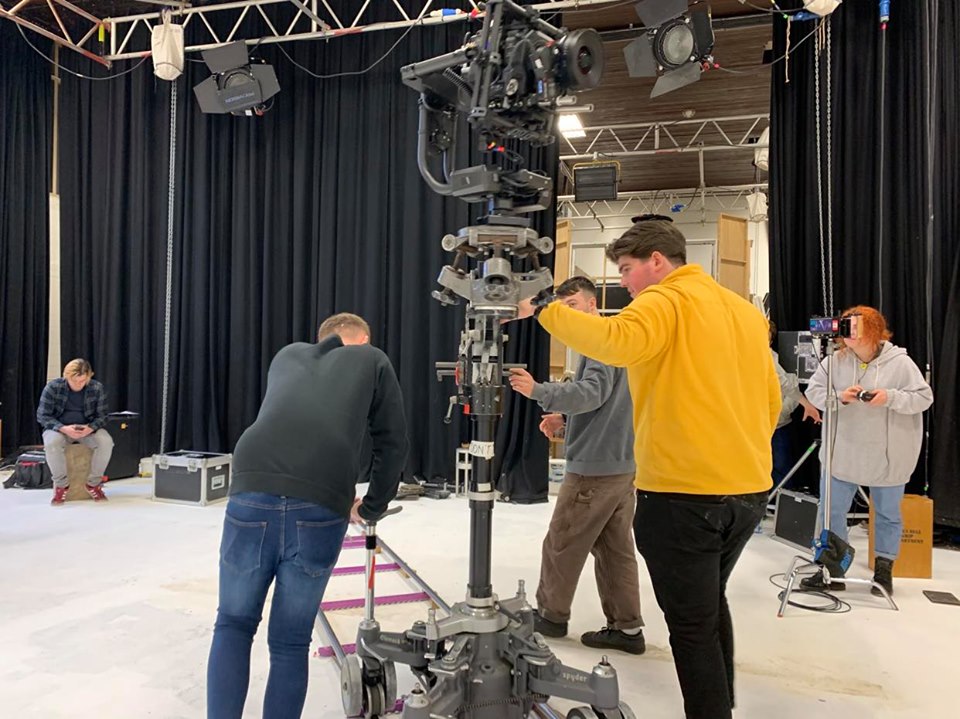
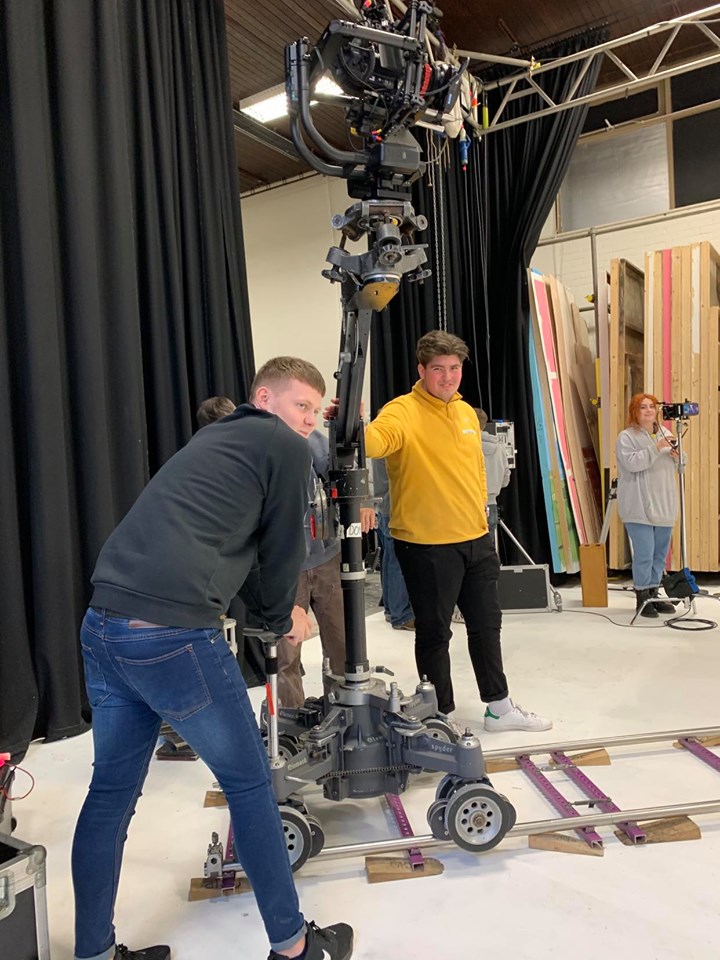
You must make sure that you are focusing when attaching the Movi to the Jib. This must be completed in a certain way (G18j NOS). Rigging the Movi to the Jib needs to be performed with extra care, as any potential damage could be costly. When attaching the Movi to the Jib you must make sure that both camera assistants are doing the task; the 2nd AC passes it over to the 1st, who then fits it into place on the head at the end of the Jib.
At first, I felt like this was going be a very difficult challenge having only used this rig once prior to this workshop. However, once everything was set up I began to get a really good feel of how it is operated, and have learnt that a Jib like this needs to be operated by three people. It is not a one man job. For the safety of the equipment and crew (G8C NOS), having three grips to the rig will eliminate any worries for those concerned.
As I have had more experience operating with the camera by my side, this would be my preferred way of operating. However, if more practice was to be completed with the Jib, then I feel that this way of operating would be the best choice out of the two, as it adds more freedom and creativity to the shot.
Feedback from Jon Head…
I got in touch with Jon asking if he was able to give me some feedback on my performance in the workshop.
This was his response;
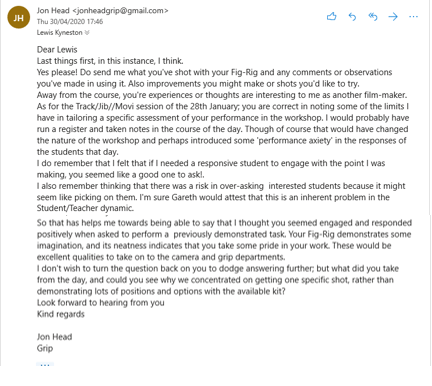
After reviewing Jon’s feedback, I am in agreement with his comments. I have always considered myself as a dedicated student, and welcome all challenges. I am always up for a new challengee and this workshop was exactly that. As Jon says “… you seemed engaged and responded positively when asked to perform a previoulsy demonstrated task“, Whenever I am set a task, after watching a demonstration, I will give it my all to make sure I can try and match the previous example as best as I can.
