Shoot Date- 18th March 2020
Role- Camera Operator
Production- MFS Productions
CAM OP NOS- CTV2 Set camera menus for portable single camera (PSC) operation
Performance Statements-
-P6 identify, select and correctly adjust the settings on the selected camera menu or sub-menu pages for the required output
DOP NOS- C2 Specify camera equipment required
Performance Statements-
-P2 select equipment which allows for production flexibility and probable back-up requirements within budgetary limits
Knowledge and Understanding-
-K12 the types of experiments during testing which may enhance the agreed visual style and brief
Not Trending, is a Youtube chat show hosted by Jack Barlow, a fellow 3rd year student. In this episode of the show, we interview UK rapper Fabio Ali (Instagram, N.D), to find out more about him as to where he began rapping and how it all came about.
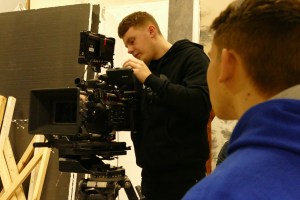
Having known Jack for the last 13 years, he has always been into YouTube, and has wanted to do something like this for a very long time. He pitched his idea, and was granted permission to shoot it as a major. This was the first time I had worked on a shoot like this: it being a chat show rather than a short film. I decided to Op/DOP, as my intention was than Operate more than anything. Jack left me in charge of putting together the materials that I might need for the camera department, and to come up with different ideas for shots we could create.
I decided to have a three camera set up; not only to capture all angles, but to save time than if we were to use only one, maybe two cameras and move them around to the different positions. We used;
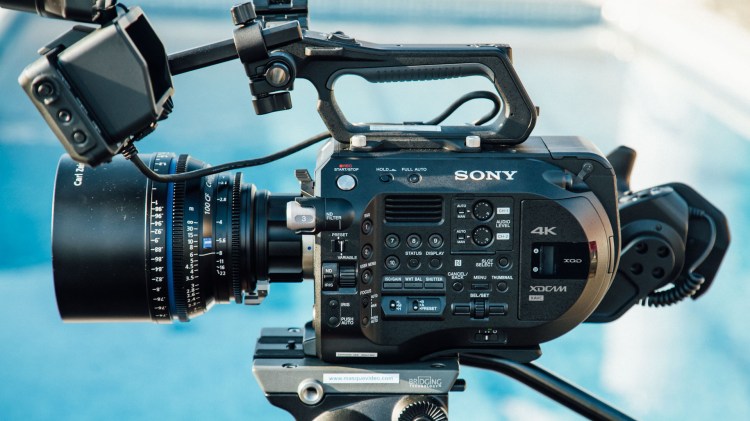
Sony FS7 (Sony FS7 PDF, 2014) 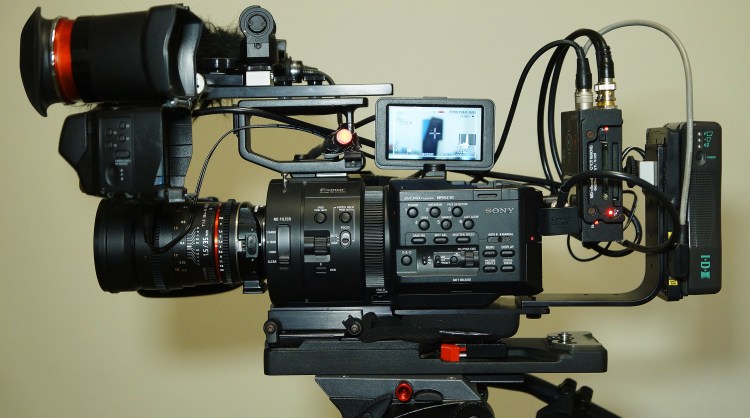
Sony FS700 (Sony FS700 PDF, 2012) 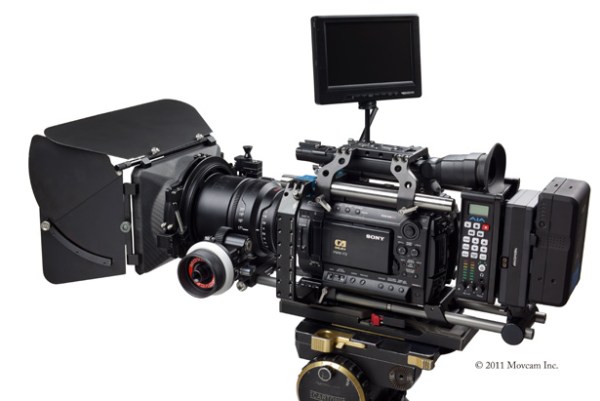
Sony F3 (Sony F3 PDF, 2011)
As we were using three different cameras, we had to make sure that all settings were matched, so that the footage would look similar (P6 NOS). We had difficulty with the FS700 as the image looked different from the other two cameras. Our ISO was set to 2000; we had a 180′ Shutter Angle and a White Balance of 3200k, but for some reason the image was different and no one could think why.
After a while of playing around with the camera menus to try and solve the issue, Freddie realised that on the FS700, we had put a Speed Booster onto the lens.
Speed Booster
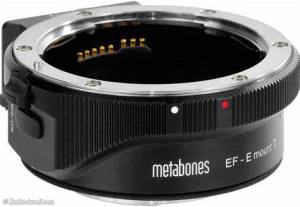
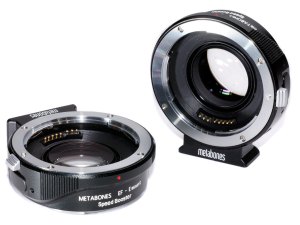
A Speed Booster is used to attach to the body of the camera in which the lens gets fitted to and adjusts your image. They are known for making our lenses wider, allowing more of an effect to be had with our range of Aperture. The speed booster which we used was a Sony E-Mount Metabones adapter (Metabones, N.D) and in a section on their website explaining exactly what they do, it says;
“Mounted between a mirrorless camera and a SLR lens, Speed Booster® increases maximum aperture (hence its name), increases MTF and makes lens wider.” (Metabones, N.D)
An article online at DP Review.com explains in further detail what a Speed Booster is and how it effects your image. Describing what Metabones say about their speed boosters, they say;
“Metabones claims that by reducing the image magnification, the Speed Booster gives an overall focal length multiplier of around 1.09x, promising a nearly full frame field of view on APS-C.” (DP Review, 2013) (APPENDIX 10)
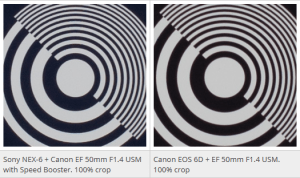
When looking at both images, one can see that the picture on the left (with speed booster)has a sharp centre point the same as the image on the right. However, with the attachment, it begins to soften out the edges of frame as you can see from all four corners.
Phillip Holland…
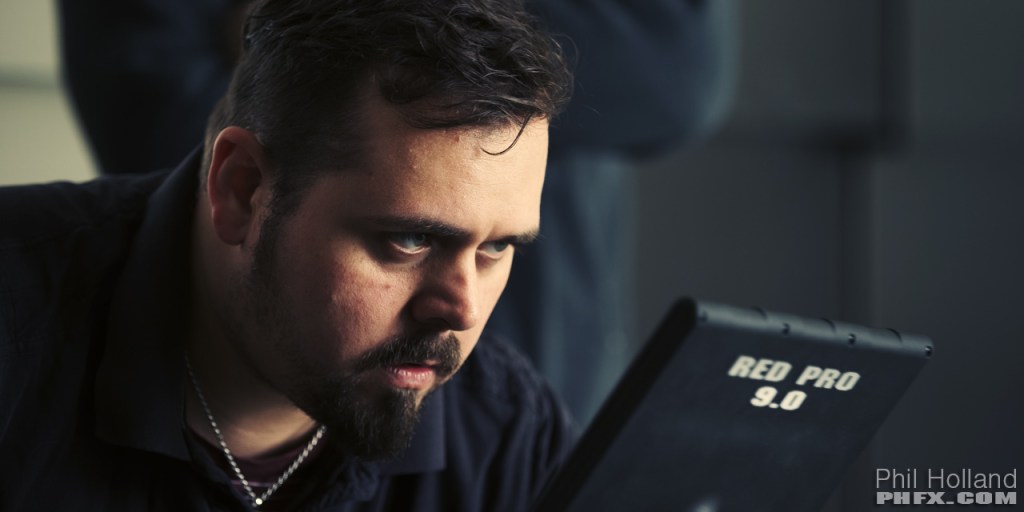
Phil Holland (IMDB, N.D) is an American Visual Effects/ Cinematographer who has worked on movies such as X-men and Iron Man. In a discussion at Cinematography Mailing List.com, about speed boosters, Phil responds to questions and gives his view on the actual outcome from a speed booster. In a positive light he says:
“Speedboosters/Focal Reducers are an empowering tool that allows for larger format glass to cover smaller format sensors with the benefit added light gathering ability.” (CML, 2018)
But this statement was shortly followed with his real opinion on the attachment, and he explains a few negatives regarding the effect they can have to an image.
“They are very cool and useful, but not the cure all for all things. You’re still tampering a bit with the look of your glass and for the discerning DP you see that pretty damn quickly.” (CML, 2018)
He warns people of a few negatives, these are; added Distortion, increasing change of vignetting, Chromatic Abberations and subtle bokeh character differences. These are some of the things you need to think about when using a speed booster and having an understanding of what they are is key.
Back to the shoot- Being Flexible
With the shots being basic from both left and right side cameras, we did not need a focus puller which meant that both Alex and Freddie would op and focus pull to any movements. I let them chose their camera package, and got it all booked out. On the day of the test it turned out that there was also another test/shoot happening on the other side of the studio, and to our disadvantage, some equipment which we booked out was being used by that crew.
When an issue like this happens, the best thing to do is to be flexible(P2 NOS) and to work with what you have available. You should not get aggressive or bad tempered because there is always a solution to a problem. Our main test was the wide shot of both actors, which we chose to use the FS7. However, with our equipment issue I rigged a Cannon 700D to a head and placed it onto the flat bed as we were still able to use the lenses we booked out (Samyangs) (K12 NOS). This would give us a very similar image to what the actual shot would have looked like had it been shot on the FS7; allowing us to still test the shot.
Shooting for a YouTube project – Multi Cam Setup
As explained earlier in this section of the report, this was my first time shooting something for a YouTube channel, which I knew was going to be tricky. I decided to look into reasons on why a multi camera set up is the best way to go about filming for something such as a YouTube project.
GloCast (GloCast, N.D)

GloCast are a live event and video professional company who talk about the benefits of using a multi camera set up, and why they do this for their event based projects. They say a multi camera set up makes your film look more “dynamic and interesting” followed by “the more cameras we can use- the better your film will be“. I agree with this statement, as the more angles you cover, the better the final image will be.
They say that by using a 2 camera set up, you are able to lock off your wide and can allow the operator to be mobile in getting any other angles of the scene.
When describing a 3 camera set up, they say that the locked off wide is used as a safety incase the other two cameras aren’t able to capture a reasonable amount of footage. It may be too zoomed or out of focus.(APPENDIX 10A)
Hoyte Van Hoytema(IMDB, N.D)
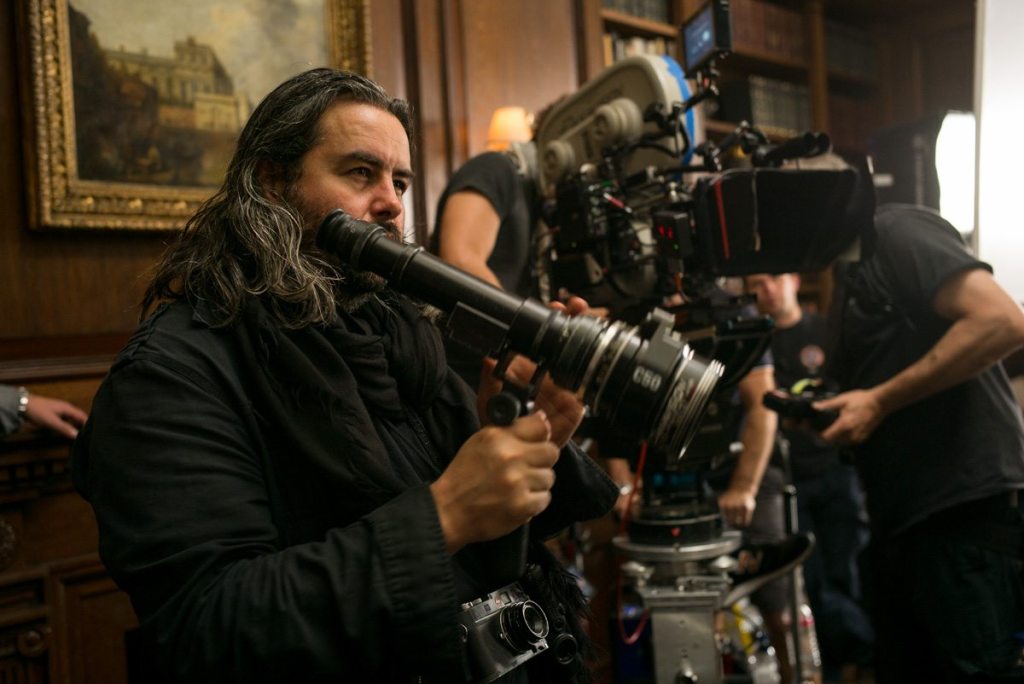
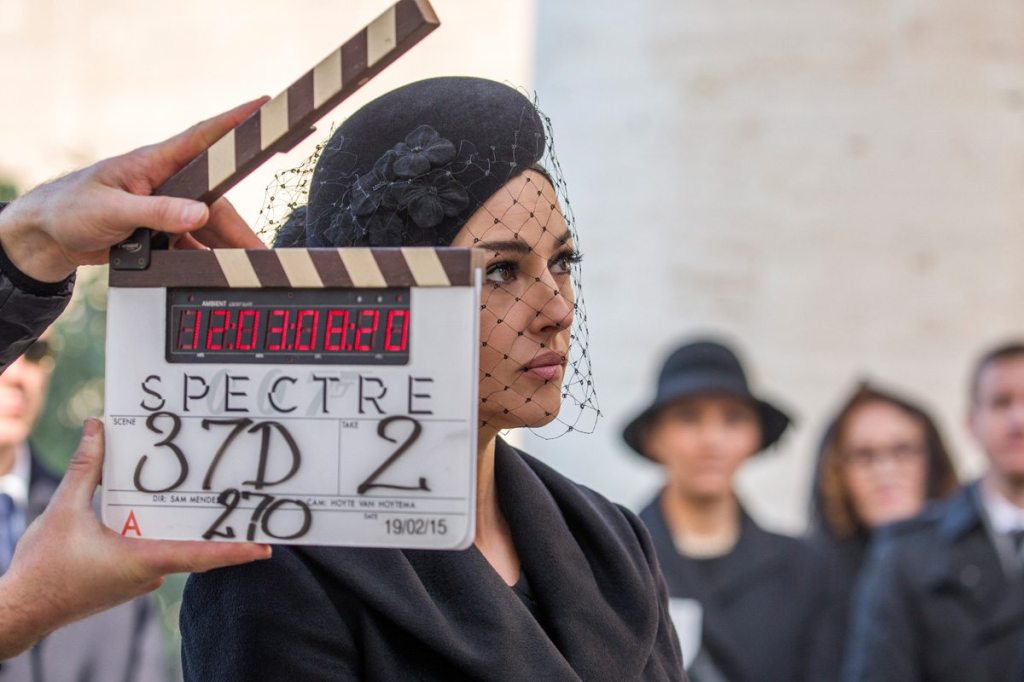
Cinematographer, Hoyte Van Hoytema is best known for working on films such as Spectre and Dunkirk. In an artile written inside a British Cinematographer Magazine, Hoyte answers questions about when he worked on Spectre, and breaks down each part of his role to explain what he did and how he done it. In a section talking about how he moved the cameras, he explains why the movie was mainly shot on just one camera. He says:
“SPECTRE was mainly a one-camera shoot, especially for dramatic conversation pieces. I like the camera to move in a functional way, with a certain integrity and decency, unmotivated and never for the sake of it.” (BC, 2015)
I agree with Hoyte, as I have been on shoots where actors are performing very emotional, deep scenes, and the best way for this is to have just one camera. You want them to perform to their full potential, and a multi camera set up at times can be off-putting. Actors can sometimes worry about whether or not they are in frame in the 2nd camera which makes their performance not as powerful. Having one camera allows for all their emotions and efforts go into that one screen so that the audience can be on the edge of their seats during those thrilling moments.

A Cam Operator- Clive Jackson
(IMDB, N.D)
He then goes on to back my point up about the audience being on the edge of their seats due to the one camera set up where the actors can perform to their full potential.
“I prefer a level of restraint, to create tension. If you shout all the time, at some point the audience becomes oblivious to what’s being said. So you take the voice down and people move towards the edge of their seats and listen more. And that’s my approach to the cameras. (BC, 2015)
My Opinion
After looking at the differences between an events team who use a multi camera set up and a well established Cinematographer who uses only one camera, I sway more towards Hoyte, the Cinematographer. I feel like I can relate to what he says about getting an emotional performance from the actors, as there is no better feeling than capturing scenes that get the audience feeling nervous and on the edge of their seats. A multi camera set up is the perfect set up for an event or YouTube related shoots, as you can cover all angles and not miss anyone out on the set. However, when wanting to show scenes of emotions and power, a one camera set up is the way this should be shot. The actors can put their all into that one performance and not have to worry about anything else which is happening around them.
Planning…
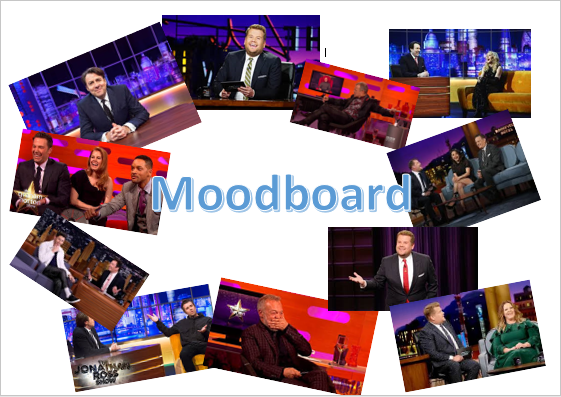
Rather than putting together a shot list at first, I decided to create a mood board of images, taken from TV Chat Shows such as, The Graham Norton Show and The James Cordon Show which could give me an idea into the types of shots I want for each camera. On the day of the shoot I took the mood board onto set with me and used this to delegate each camera their position.
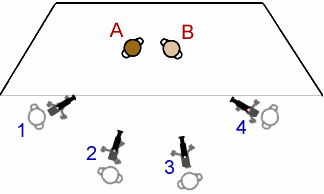
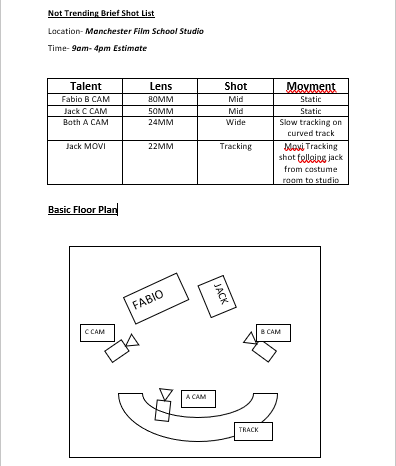
Once I completed the mood board I then began to put together a basic shot list and floor plan. There wasn’t much detail which I needed to include as the cameras were staying static throughout most of the shoot. The floor plan tells me where the cameras will be and what camera they are.
The Movi Pro…
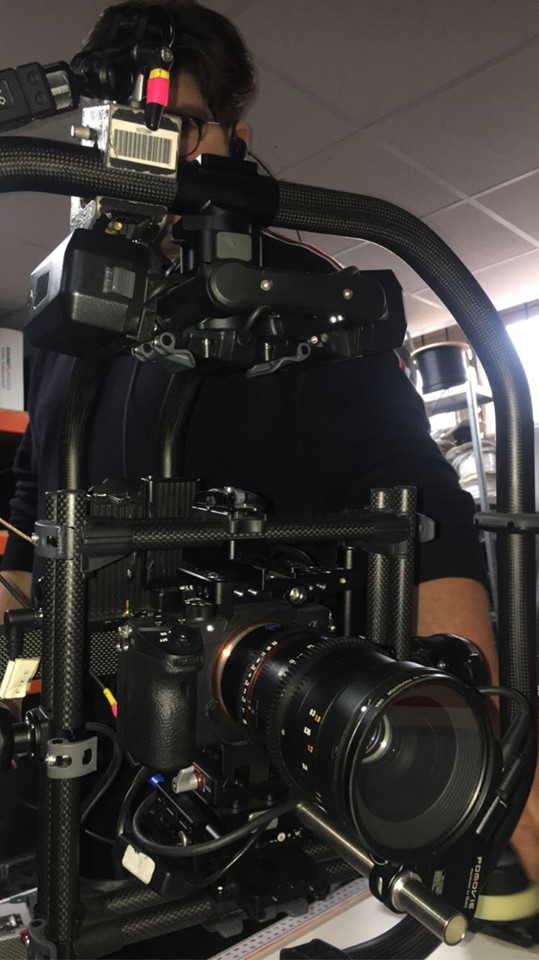
Having used the Movi Pro on other shoots at the film school, I was very familiar with how to maintain and operate the equipment which benefited me for this shoot. Jack wanted the opening shot to the show as a continuous move from one room to another; following him into the main studio where he would deliver his opening lines.
I decided to put the Sony A7R (Sony,2017) onto the Movi (Freefly, 2020) as this was the best option to use due to its lightweight movement and control. With me using the Movi, I needed the least possible weight to make life easier when operating, as it would give me more freedom to play around with creative ideas (K12 NOS). The shot was quite long which meant I needed as much testing as I could to make sure that on the day of the shoot I knew exactly what to do with the Movi.
The Result
The clip below is an example of the opening shot I managed to capture.
BTS VIDEO
I have put together an edit of clips from BTS.
